Morbic Build in Cornwall


|
This post was updated on .
Hi. This is the start of Bob's Morbic build log. The boat is currently unofficially named Vole, after an old Yachting World day boat I owned in the '80s, but it may get renamed Volare. I remember the song by Dean Martin, I always liked it and the title translates to "To Fly" - I like it ! Sailing to me has always given a feeling of freedom, next best thing to flying, akin to going down hill on a push bike, stood up in the pedals with a slight lean forward, so the bike appears to disssapear under you and you are flying - well sorta! What do you think? Perhaps I should know better at 71 :-)
Anyway, since receiving the CNC kit from Alec Jordan in February this year (2025), I've had some great fun with the build. Familiar to most builders I'm sure, has been the headscratching, contemplating and generally reading and re-reading the build booklet along with the plans. A couple of trips to Robbins Timber in Avonmouth Bristol to collect the required timber. Robbins are a great firm for supplying small dimensioned timbers suitable for marine use - Sapele in my case and Douglas Fir for the mast and spars. Sitka Spruce is an outrageous price in the UK and for the marginal weight saving never worth it IMHO. I had an initial problem with frame alignment on the hardback. It was very carefully put together but ended up, upon completion, with one of the frames mis-aligned by 4 odd mm compared to the rest. In the end to overcome this, I cut the frame out and moved it over to align it, re-fixing with plywood plates in the new position. Other than that it was all good and I was able to move on to fixing the sole, the first exciting bit! I need to get some pictures uploaded, once I get a jpeg orientation issue sorted. The pictures will show the progress through the year much more interestingly than just a load of text. Currently (Dec 25) has seen the installation of the seat risers, front thwart doubler, battens around the side seats, fore deck supports etc. Doesn't sound a lot but all takes time, by the time all the relevant fairing has been done. Today was filleting time - very messy job and glad I adopted the icing bag technique to get the epoxy putty out of the bag and onto the job quickly. The growing warmth of the epoxy bag in your hand just adds another alarm bell in the head! At least I expected it having done a couple of boats prior to this one. Anyway I will work on getting some pictures posted. Oh, one last thing, having been dead keen on the sloop arrangement, I've finally decided to go all traditional with the standing lug. Watched too much Roger Barnes and just loved the simplicity of Avel Dro's rig especially for single handed use, which these days is more or less me, with a nice beer of course! Actually it was Roger Barnes who introduced me to Francoise Viviers fine sail and oar boats. This is about the time I noticed the offset frame, not that you can see it here but fixed prior to moving on. I was surprised at the offset as other builders were singing the praises of the way the strong back and frames just "slotted together" - not quiet so in my case.  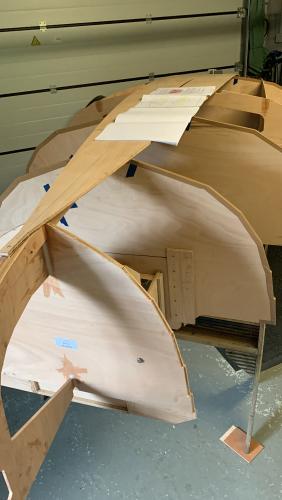 You can see Station C4.2 has been moved to align it with the rest of the frames. The screwed on ply "plate" allowed some sideways movement before fixing tight. Wasn't happy at having to do this, but there was no other option. Alignment is King! Laying up the stem, 3mm strips of Sapele cut from a piece of timber by a mate Steve at his machine shop in Mullion. Laying it up bit at a time, that was plenty slippery enough with the epoxy applied. 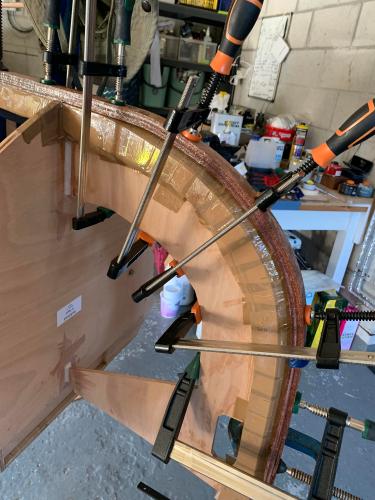 The scarf joints were done by hand just being careful that the joint was oriented correctly. It would be an easy mistake to get it wrong handed not to say costly. 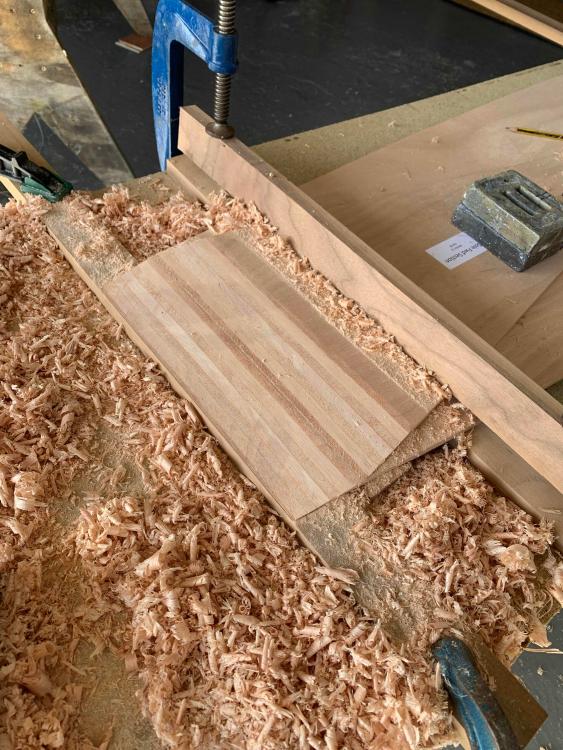 Sole and garboards were the hardest to get set against the stem due to width of board and severe twist. However I didn't end up using any steam or hot towels etc. just a steady clamping and screwing. I didn't want to make the ply wet /damp as it would mean a wait until I could epoxy the joints. Filleting was applied as best I could inside against the stem to give support when planing the gain in at the next step.  This was the joint acheived between the 9mm sole and the 6mm garboard. from here on in it was bevelled 6mm joints on all other strakes. A bit of a fag by the time each one was clamped, marked, bevelled etc. 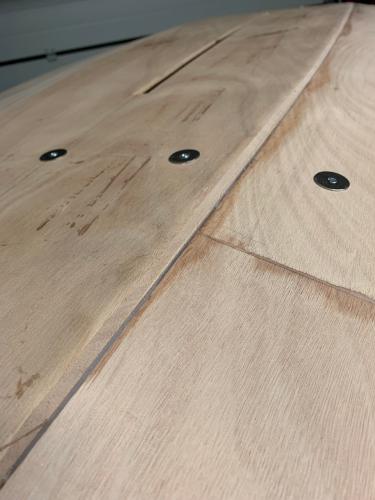 Cutting in the gains, a worrysome job to start with but after a few nothing was splitting or cracking so confidence in the method rapidly increased. 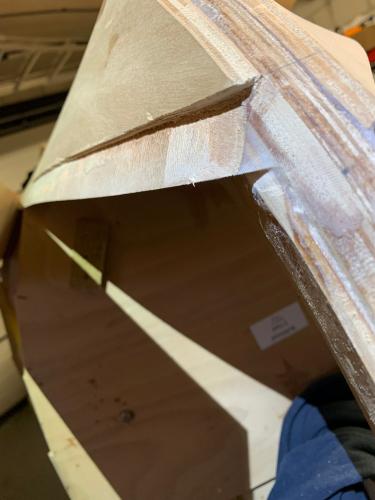 More of the same process. Care to align the edge of the strakes to the notches on the frames was always uppermost in mind. They didn't all align perfectly but I figured there was some margin for error on this type of build. I guess the worse error would be 3mm or so. I let the wood follow its natural line rather than force it into the frame to keep the emerging hull shape true. 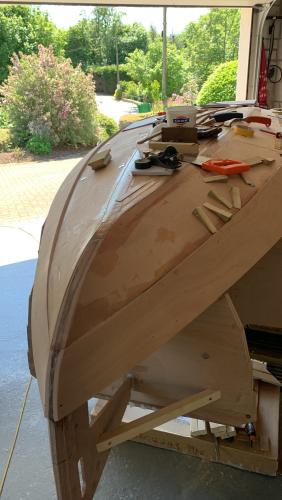 Plenty of home-brewed clamps. These worked really well and allowed me to "tune" the clamp tensions. By drilling a new set of holes for the wing nut screws they can also be made longer reach which came in handy when fitting the seat risers which are down the hull a bit. 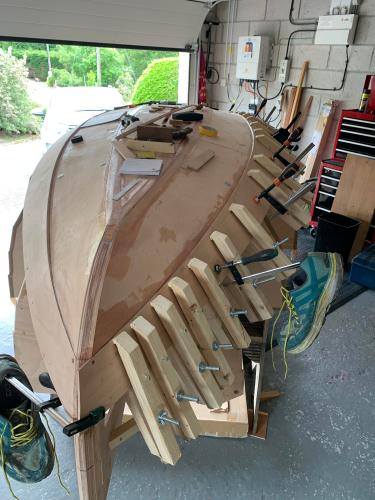 View from the transom. 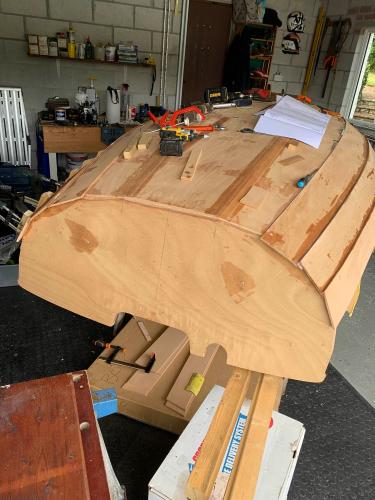 More of the same. 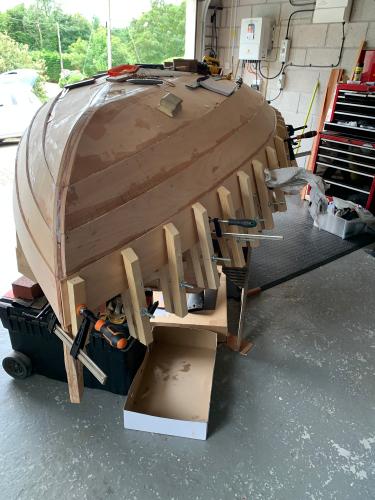 Nearly there! 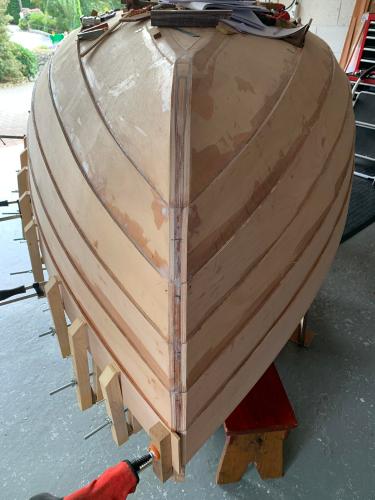 Turning over muscle has arrived :-) 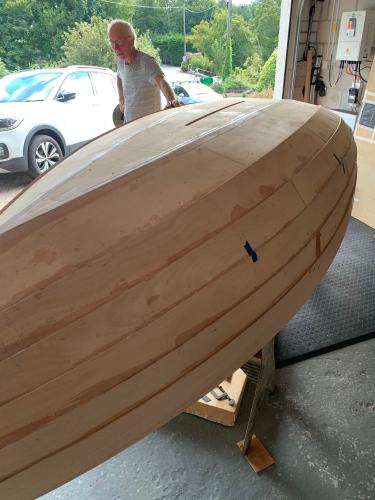 Flipped over and back in the garage on its stand. Inner Gunwale is also added. 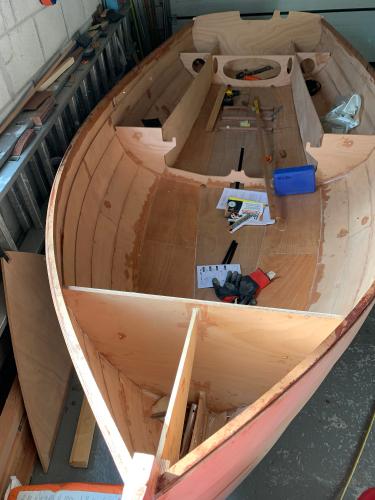 Mast being glued together. This was harder than it looked especially with the fiddling about with lining the mast top sheave slot faces with ply. The ladder proved to be an excellent way to keep things flat and allow clamps up and under. 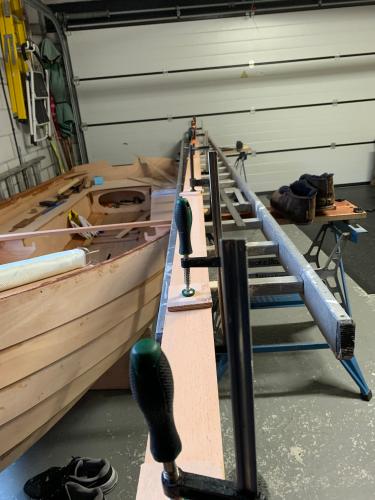 Quarter knee added. transom to gunwale. Nice and strong and thanks to M. Vivier for making the tricky joint against the gunwale "hidden" :-) 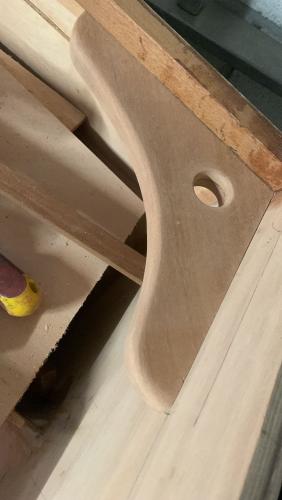 Although given as an option, the rub rails make the whole thing more authentic and accentuate the sweet lines of the boat I think. A no brainer to fit them. I couldn't have used those clamps if I had fitted the outer gunwale at the top first without a load of hassle. Just dawned on me in time. 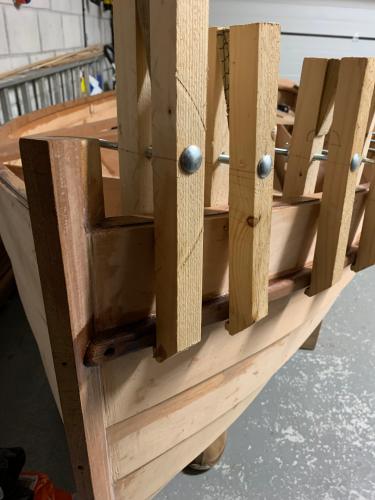 Outer gunwale work. 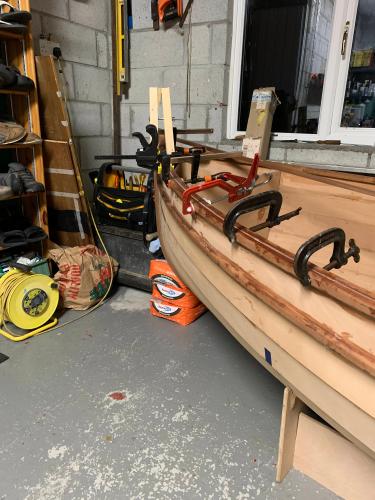 Liaison outer gunwale to stem. Starting to get very strong around there now. 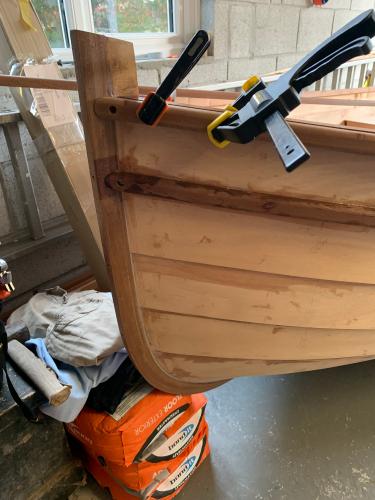 Starboard side outer gunwale under clamps. I made another six to accommodate this job. 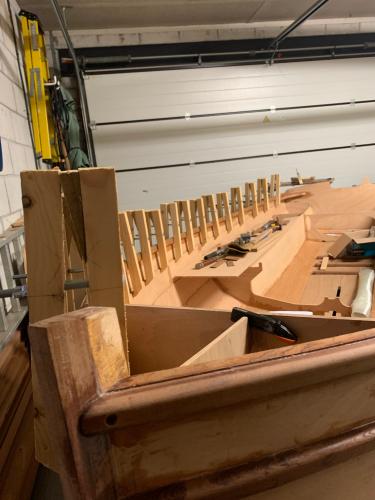 Inner gunwale layer to accommodate rowlock or thole pins. Rowlocks for me I think. 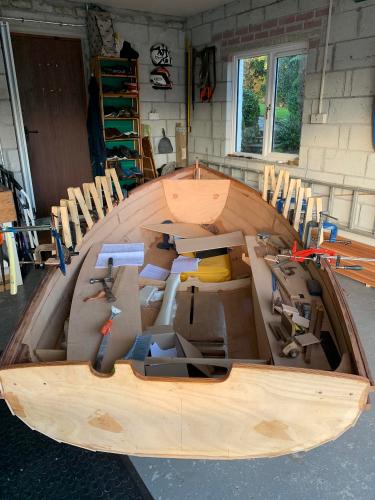 Trial fit of foredeck 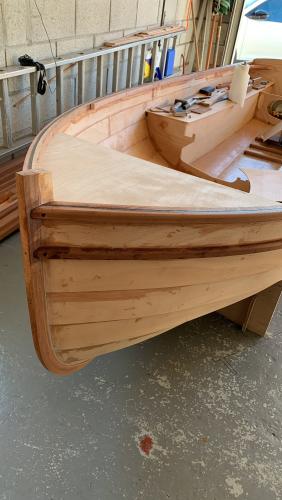 Gunwale color strip, black made with charcoal dust. 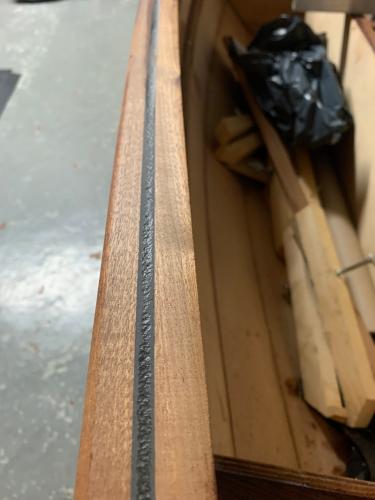 Trail lay down of seat tops etc 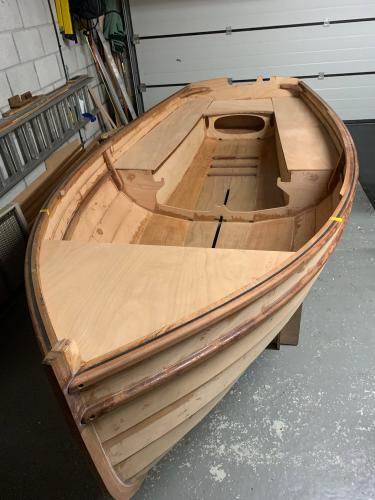 Preparing the bow buoyancy with fillets ready for final closure. Fitting of the round inspection port yet to be done. Practically I can see a good case for offsetting this but I can't bring myself to do other than fit it centrally its a form over function thing I guess. 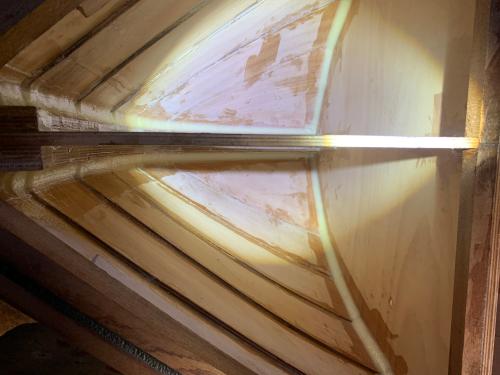 |
«
Return to MyMorbic Sail-&-Oar Dinghy UK Network
|
1 view|%1 views
| Free forum by Nabble | Edit this page |